[ad_1]
Don’t underestimate the importance of your PC’s power source. A good power supply serves as the cornerstone for a low-maintenance and highly reliable computer. But more often than not, boxed, pre-built desktops ship with the cheapest power supplies that meet the criteria of their product warranties.
This means that two or three years after buying your computer, you may find yourself with a perfectly functional desktop that one day decides either not to power on or to emit a puff of black smoke. Upgrading your graphics card can also push your PC’s power supply past its limits, depending on the model.
But fear not. Installing a power supply is a surprisingly easy process. It’s much more straightforward than actually choosing the best power supply for your PC. We’ll show you how to safely remove a PSU from your current computer, then walk you through the steps of installing your new power supply. Skip to that section if you’re building an entirely new PC.
How to remove your old PC power supply
 Silverstone
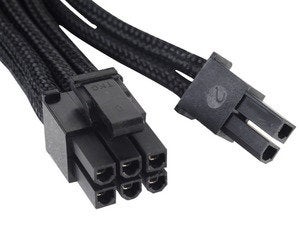
A 6+2 pin connector used to provide power to graphics cards and CPUs.
The first thing you’ll need to do is gather your tools—likely just a pair of gloves and a Phillips head screw driver—and remove your old power supply.
Start by unplugging from the wall all of the cables connected to your computer. If your power supply unit (PSU) includes a power switch accessible on the rear of your PC, flip it to the off position, and then remove the side panel of your case so you can access the PSU.
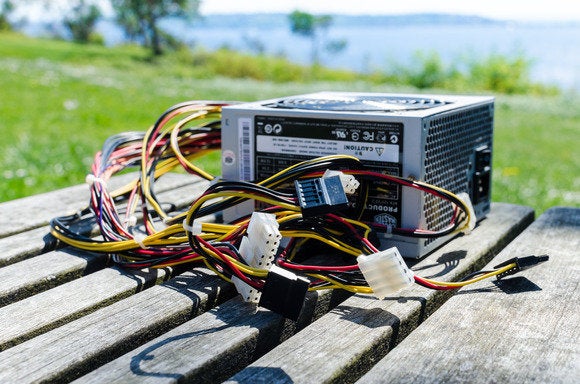
A number of different power connectors lead from the power supply and power the different components in your computer. You will need to disconnect all of these cables before the power supply can be removed, or else they’ll snag and hold the PSU in the case.
 Thomas Ryan
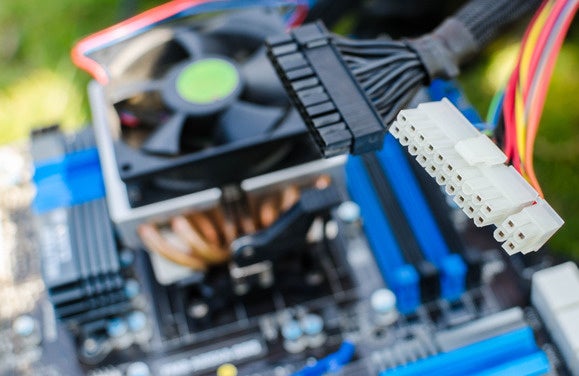
Don’t forget to remove the big 24-pin power connector on your motherboard.
You may find it helpful to photograph which power cables went to which components so that you can have a reference for plugging in the cables on your new power supply. Don’t forget to remove the four- or eight-pin CPU power connector located near the CPU socket on the motherboard, and the 24-pin power cable connected to the motherboard along its mid-line on the left side. As you remove each cable, pull it out of the case to avoid tangling them with the other cables. Doing so also helps ensure that all power cables are disconnected, and makes it easier to remove the PSU from the case when you’re done.
You’ll next need to remove the screws that hold your power supply in position. In most cases there are only four screws, but designs differ from vendor to vendor. Set these safely to the side.
Now you can finally pull your old power supply out of your case.
 Thomas Ryan
How to install a power supply in your PC
Choosing a replacement PSU can be a daunting task, but PCWorld’s guide to selecting the best PC power supply can put you on the right track. Another helpful tool is the wattage rating listed on the side of your old power supply.
You can use these two tools to understand how much wattage your new power supply will need to deliver and which features you’ll want—unless you’re upgrading to a new, more powerful graphics card that demands a new, more powerful PSU. Keep in mind that there’s nothing wrong with buying a power supply that provides more power than you actually need, especially if there’s the possibility of further PC component upgrades in your future.
If you purchased a modular power supply with removable cables, figure out which ones you’ll need to deliver energy to your components and plug them into your power supply before you get started—it’s much easier to do before the PSU is embedded in your computer.
With your new power supply at the ready, insert it into the exact same position that your old power supply occupied in your PC case. Your new power supply should come with screws to secure the unit to rear panel of your case; screw those in as directed by your manual.
 Thomas Ryan
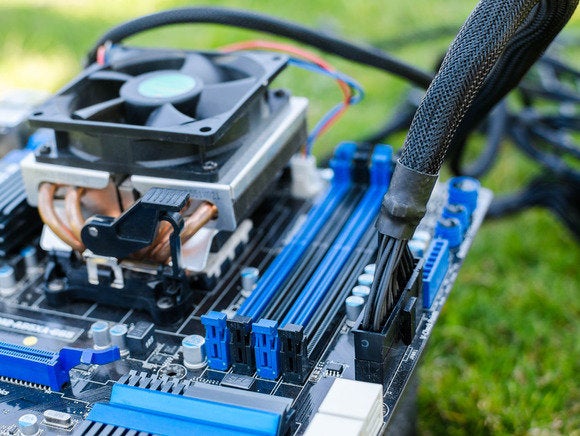
After you’ve installed the new power supply in your PC, it’s time to reconnect power to all your components.
Now it’s time to start wiring things up. Feed the cables in behind your motherboard, then use your case’s cut-out holes to pull each connector through near the corresponding plug for each one. Plug the 24-pin power connector into your motherboard first, then go for the 4 or 8-pin CPU power connector. Plug in the optical drives, SSDs, and hard drives as needed. Finally, plug any required PCI-E power connectors into your graphics card (if applicable), then double-check all of the plugs to make sure they are securely seated. If you took photos of or labelled the cables on your old power supply, you can now use those as a reference for figuring out how to connect the cables of your new power supply.
If you purchased a non-modular power supply with a bunch of additional wires attached, hide them behind your motherboard tray in the rear of your PC. Many newer cases also include power supply shrouds designed to hide your PSU and any excess wires.
Seal your computer’s case back, plug everything back in, flip on the power switch on the rear of your PSU if needed (if yours has one, it will be visible from the rear of your case), and power your computer up.
Now you’ve got a PC that’s ready to run for years to come without issue—or at least without PSU-related issues. Knowing how to fix simple issues like a dead power supply is a great way to get the most out of your money and to avoid splurging on a whole new computer.
[ad_2]
Source link